Have you looked through dozens of bread recipes, trying to find something that you can use to replace the store bought bread your using for your kids sandwiches and your blue collar lunch?

Searching for a Recipe
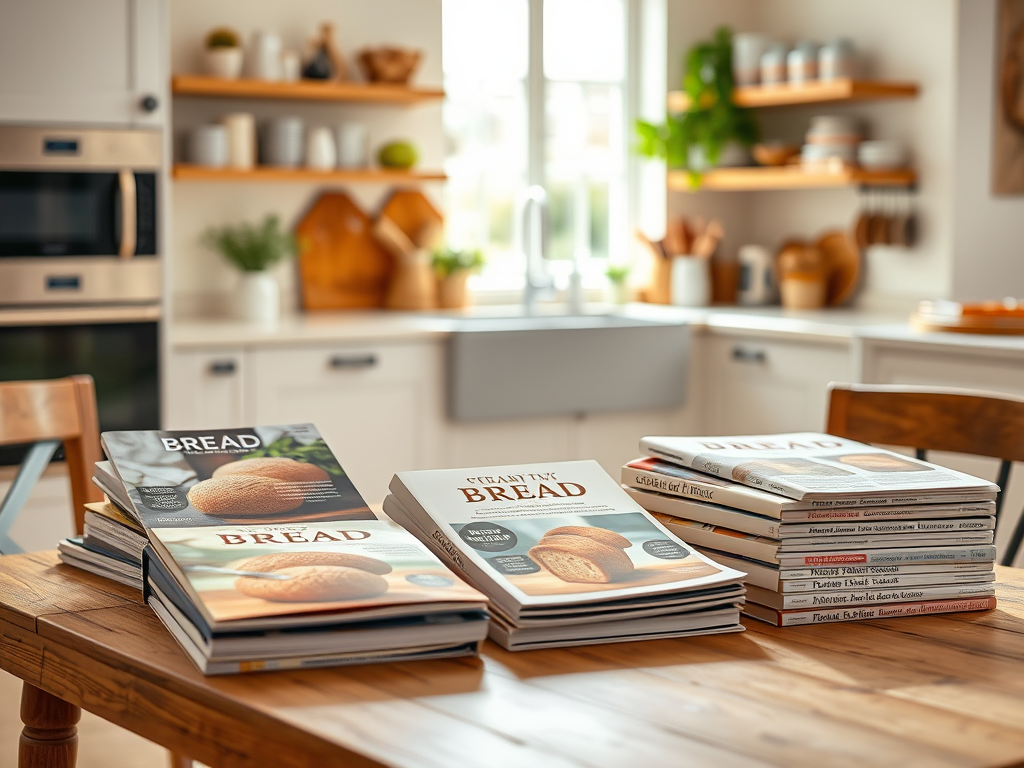
I tried recipes using all of the different ingredients. The recipes using wheat flour, all-purpose flour, bread flour, half this and half that. The recipes calling for oil versus butter and milk versus water. Egg or no egg. I tried them all.
I even tried the recipes using a bread maker and the ones that called for it all to be done by hand. Don’t get me wrong. I do love the idea of taking a step back from advanced technology and reconnecting with the slower homestead lifestyle but it turns out using the bread maker helped keep my kids involved in the process. Total Win!!

Why I chose a Bread Maker
I do love my bread maker. I don’t have a fancy or industrial strength bread maker, this one has suited me just fine. And the settings I use most have been dough and bake.
The goal of our suburban homestead lifestyle is not to rely on big corporations creating processed foods to feed my family. But to keep a closer eye on the ingredients I use in our food and stick to staples rather than processed foods.
Finding the Right Method
While exploring the different recipes and methods of bread making. I discovered the best sandwich bread I ever made came by first making the dough, and then baking the bread.
When I tried using the all-in-one settings on the bread maker the dough would either overflow and I would get half a loaf that’s not really baked.
Or I would find bread that was too dense to use for sandwiches. You know you want the bread to be light and fluffy but you need it to slice for your sandwich.
So I started making the dough first and separating it into two loaf’s. I would set aside one half to continue rising, and then use the other half to finish baking.

If you have the right size bread pan, it can be easier to bake the bread in the oven. It just seems to come out a little better. But baking it in the bread maker, the loaf comes out a little bigger.
The recipe that worked
You might be surprised to find that the recipe I found didn’t come from Pinterest, which is shocking because I use Pinterest recipes all the time, and I’ll share some of my favorites soon.
This recipe is a variation from one I found in my Amish Christmas Cookbook.
The recipe is called Whole Wheat Bread, but I did modify it a little so I could use my bread maker.
- 5 cups of bread four (I used 3 wheat flour and 2 all purpose flour)
- 1 tablespoon of sugar
- 1/3 cup of brown sugar
- 3 teaspoons of sea salt
- 2 tablespoons of yeast
- 2 tablespoons of honey
- 2 1/2 cups of warm water
- 1/3 cup of avocado oil (my preference is avocado oil)

Bread Maker Tips
When using a bread maker, you add the dry ingredients first and then the wet ingredients. It mixes better and you won’t find half your dry ingredients didn’t get mixed or some of your water ended up trapped at the bottom.
This is my kids favorite part, they add the ingredients and press the dough setting. This setting mixes the ingredients and also adds ferment time for the yeast. I usually get some overflow but its better to get it on the dough setting than in your bread.
At this point, I split the dough in half. The dough may not be finished rising, so you can separate it and let it sit for another hour to finish. This is where homework, laundry, or some other chore fits in.

I let half the dough finish rising in the bread maker and then use the bake setting. Try not to bake before the bread has finished rising, this is when my ADHD comes into play and I get impatient with the process. I have baked plenty of bread that was dense and gooey because I didn’t wait for the bread dough to rise.
At least an hour if you make a lot of dough like I do it may take 2 hours for the dough to finish rising. A good sign is the heat. If the dough still feels warm, it is probably still rising.
Baking the Bread
When using the bake setting on the bread maker, it will say about 15 minutes, but be sure to pay attention to the color setting.
I am a light a fluffy fan but I do not want the middle to be under-cooked. This is what the medium setting on my bread maker made.

And my oven set to 325 made this one.

It might look a little crunchy on the outside, but it was perfect on the inside. My bread pans are for desert breads so if you plan on making sandwiches you may want a bigger bread pan. I’m going to purchase the 1.9 quart size.
Then I used the dark setting on my bread maker, and here is the comparison.

I hope you found this helpful. If your interested in the supplies I used to make this bread, below are the amazon links to the ingredients and kitchen tools. Looking for more ways to make your lifestyle more sustainable, check some of my other posts at suburbanhomesteads.com
Kitchen Tools
Measuring Cups/Spoons (The colors help my kids get involved in the process)
Mixing Bowl (to let the bread dough rise)
Ingredients –
Bread Flour. (Gluten Free Bread Flour)
Disclosure: Some of the links in this post are ‘affiliate links’. This means if you click on the link and purchase the item, I will receive an affiliate commission.
Leave a Reply